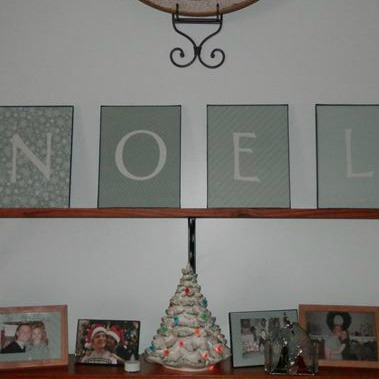
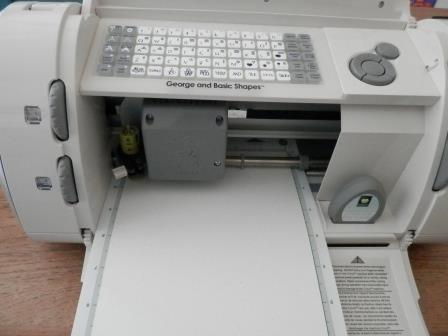
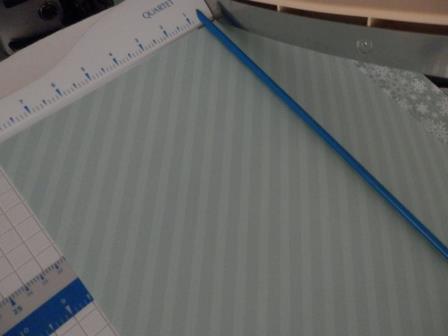
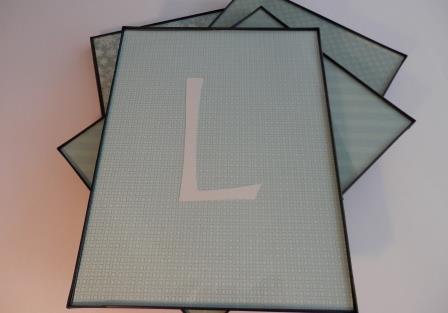
Freshen Any Room Decor With A Wall Hanging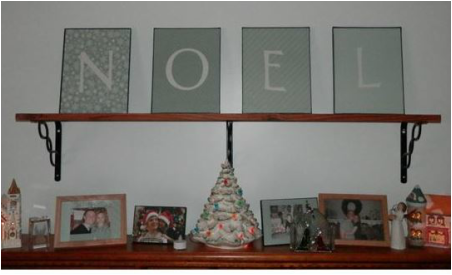 This post contains affiliate links but all opinions are 100% mine :) Freshen any room's decor with a new wall hanging. It is an easy, simple and affordable way to update for any season. A freshly painted living room was a task done this year that initiated a desire to also freshen some home decor for the upcoming Christmas Holiday. I was looking for a completely different look in the room and that also entailed a whole new feel with the room decor. New updated covers for the furniture, new area rugs for the floor and now it's time to freshen the wall decor to finish off the room. The search was on...let's see what I found. Ideas Overflow On The InternetWith the popularity of Pinterest, I have been watching for some new ideas for this holiday season. I wanted something a bit different but affordable. I am a DIY’er so I was looking for something easy as well. It would also be an extra perk if I already had the materials in my every growing craft stash. The ideas have been flowing and a few caught my attention. By tweaking a few of the details I have come up with my own look and feel to pull the new room together. This particular project was to update and freshen up my Christmas decor but this idea can be used year round with just a few changes. With just a few simple, easy steps using basic tools this can be done within an hours time. The materials are affordable and you may possibly have some of the supplies lying around your home, even if not they are easily accessible in any craft store or even dollar thrift store. I hope you like what I created and encourage you to create one for your home decor this season as well. Once you have all of your materials together it should take you no more than an hour to complete from beginning to end to get this fresh new decor or your walls, shelf or mantle. Have a peak below and see if this is something your might be itching to do. If so then I only ask one thing...please come back and share your creations with us. Deal? Ready? Let's get crafting. Wall Hanging Project InstructionsProject Level: Easy Time Required: 1 hour or less Materials Needed: Decorative Themed Scrapbook Paper, Photo Frames Tools: Die Cutting Machine, Letter Cartridge --or-- Scissors, Letter Stencils, Cutting Board Cost: $10 or less Gather these supplies and then let's get busy I used a Cricut Die Cutting Machine but if you do not have one available, the letters can also be hand cut. Or feel free to use this project as an excuse to purchase a Cricut die cutting machine, you won't be sorry. I love mine, but now I want a bigger one and one that cuts a larger variety of materials. I have lots of ideas for its use. Either way this is still a great and easy project to freshen any room for the Holiday season, no matter what season it is. Enough chatter, let's get crafting... Time to AsssembleStep 1:
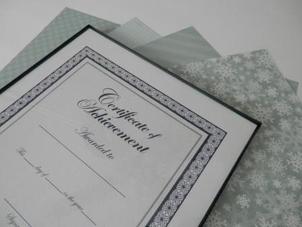
Wanting to keep continuity with the grouping, I chose the same color way with all background papers and pick different patterns. I love mixing patterns. I then decided to use a subtle color to create the letters with. Use whatever combination works for you and your decor. Step 2:
Step 3:
Step 4:
Step 5:
Step 6:
2 Comments
|
The Author Growing up in my mother's home decor sewing business allowed for opportunities of learning lots of DIY projects. Archives
March 2015
CategoriesAll Crafts Decorating Easter Egg Tree Easter Tradition Hobbies Home Decor |


 RSS Feed